To this forum for the help and advice, and to John for a great parts service, and especially to Jan who has at his own cost sent me a spare Villiers slide from the Netherlands !
Top bloke and much appreciated ! This weekend should see me putting things back together and getting running again..!
Cheers
PEter
Last edited by PeterW on Sat Jun 06, 2009 6:03 pm, edited 1 time in total.
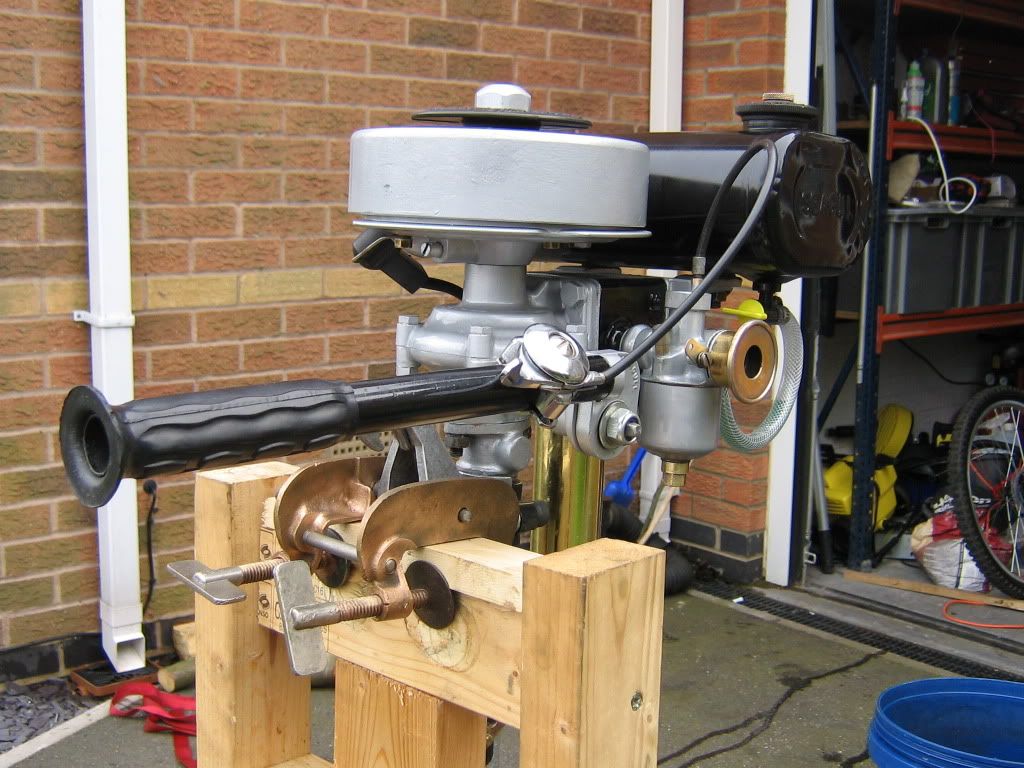
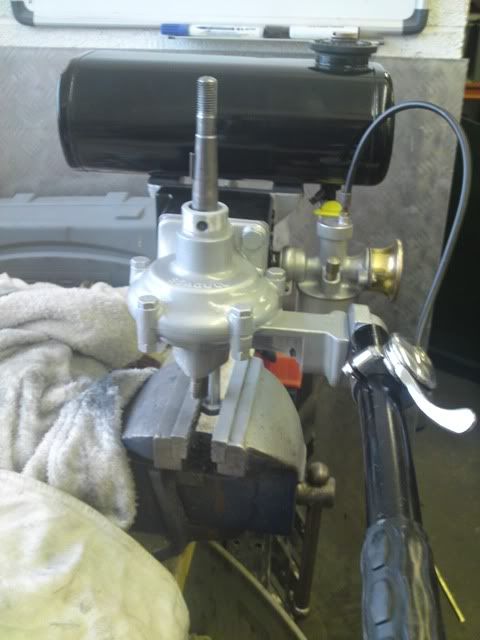
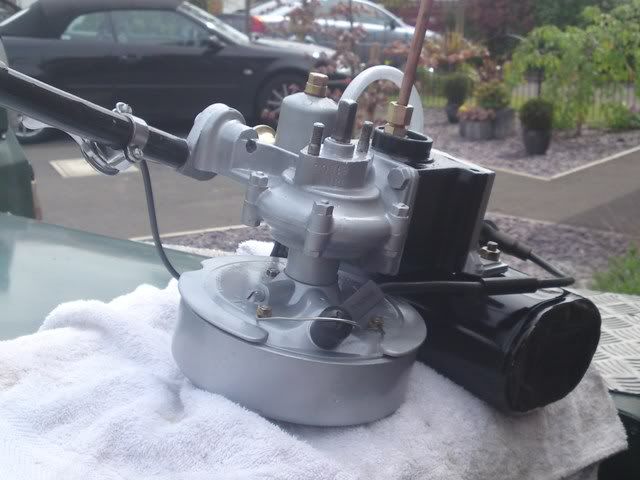
These are a few of when I was building back up - mostly of the carb.
I've also sprayed the coil etc with lacquer to hopefully stop the damp getting in.
The whole lot has been stripped to bare metal, then sprayed up with 2 coats etch primer, 2 of high build primer, 3 Plastikote Satin Aluminium and 2 or 3 of lacquer.
Anything thats going near petrol has had Halfrauds best Petrol proof lacquer, but I wait to see how good it is..!
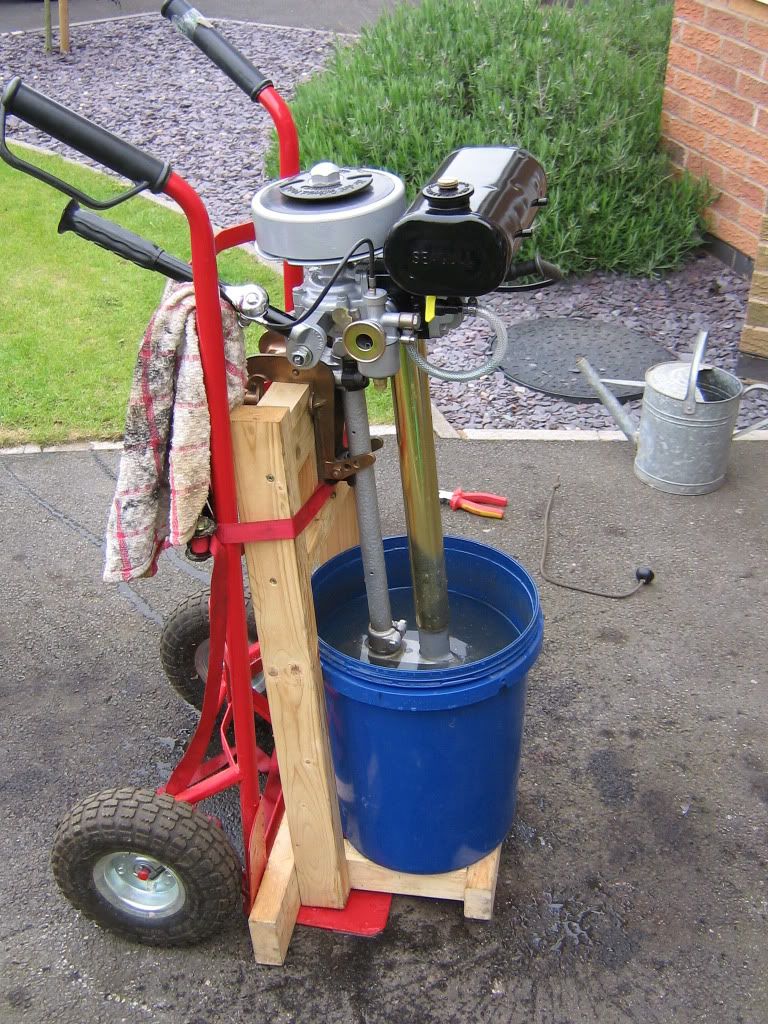
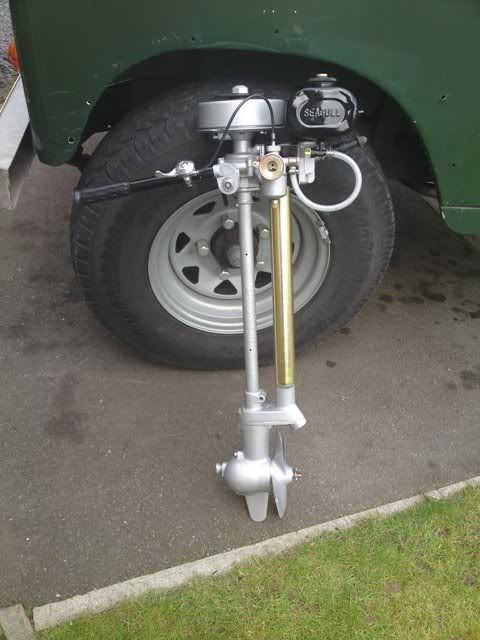
Last one is leaning against the last 'project', a 1975 Series 3 Landrover !!
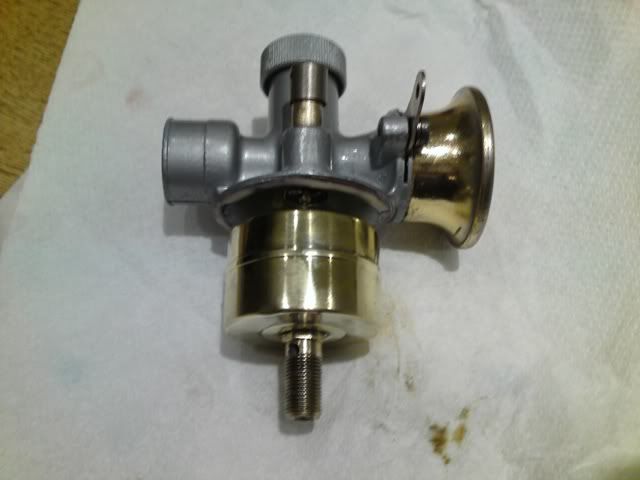
Polishing the float is a recognised modification for Seagull racing folk.
It speeds the flow of fuel past the float (due to reduced surface friction) and into the jet, thereby increasing the amount burnt and giving a useful power increase.
Just one thing, is it only the later gulls that have to be painted?
Up until the early fifties the only things painted were the cylinder block, fuel tank and brass teiller arms. Villiers carbs were painted with a sort of stove enamel/hammered finish.
Then they started to paint the gearbox/water pump housing/prop assembly that silover grey colour. Then Siulver Century cylinders became actually silver coloured. Next was a very brief period with Hammered Silver flywheels, followed by the gold. That went on for ages until the late seventies when the black tanks became blue.
The 170/125 had blue gearboxes with white hood trays and accessories, QB series were predominantly black, and after that there's a bit of a free for all, with silver and black and gold motors.
The only painted legs were those at the very end which were powder coated black. Crankcases were, I suspect, always bare aluminium.
Thanks charlesp, i have seen some DIY paint jobs on some gulls that make you look twice just to see if it is a gull under the paint.
As for polishing the float to reduce surface friction well, we all know its to lighten the float so it responds better to differing atmospheric pressures in the float chamber.
pizey wrote:Looks good, i could never get my bracket to come up that colour.
Just one thing, is it only the later gulls that have to be painted?
Pizey,
Bracket was soaked in washing soda to get the caked on crud off, then a wire brush on the drill sorted the rest...
The brass tube was fun to do - it is a tight push fit over the drill chuck, so with the drill running at slow speed I removed what was left of the chrome with a wire brush then went down successive grades of paper till I got to 1200 wet n dry with polishing compound !
Looks pretty good, still got a few dinks and scratches tho !
I did find rebuilding was fun, plenty of copper slip on places like the drive dog into the shaft, flywheel woodruff key etc as I fully expect to be splitting this at some point again !
charlesp wrote: Crankcases were, I suspect, always bare aluminium.
Charles
Reading that makes me think someone had definitly had the paint pot out to mine - I stripped silver paint off from under the crud on the crankcase.
The tank had a few different layers - I went back to bare metal then primed and sanded between coats as I've had bad paint reactions with non-ferrous primers before.
The exhaust tube on my FVP had all the chrome but i also had two bad dents, so i ended up making a stainless steel tube up for it.
I would still love to repaint the tank, but still waiting for the right decal.